MCP Support
Model Context Protocol (MCP) integration with WarpBuild CI
Overview
MCP can be used to interact with the WarpBuild API to create runners, images, etc. Follow this guide to connect your MCP Host (Cursor, Antigravity, etc.) to WarpBuild MCP.
Step 1: Generate API Key
- Navigate to the WarpBuild Dashboard for creating the API Key.
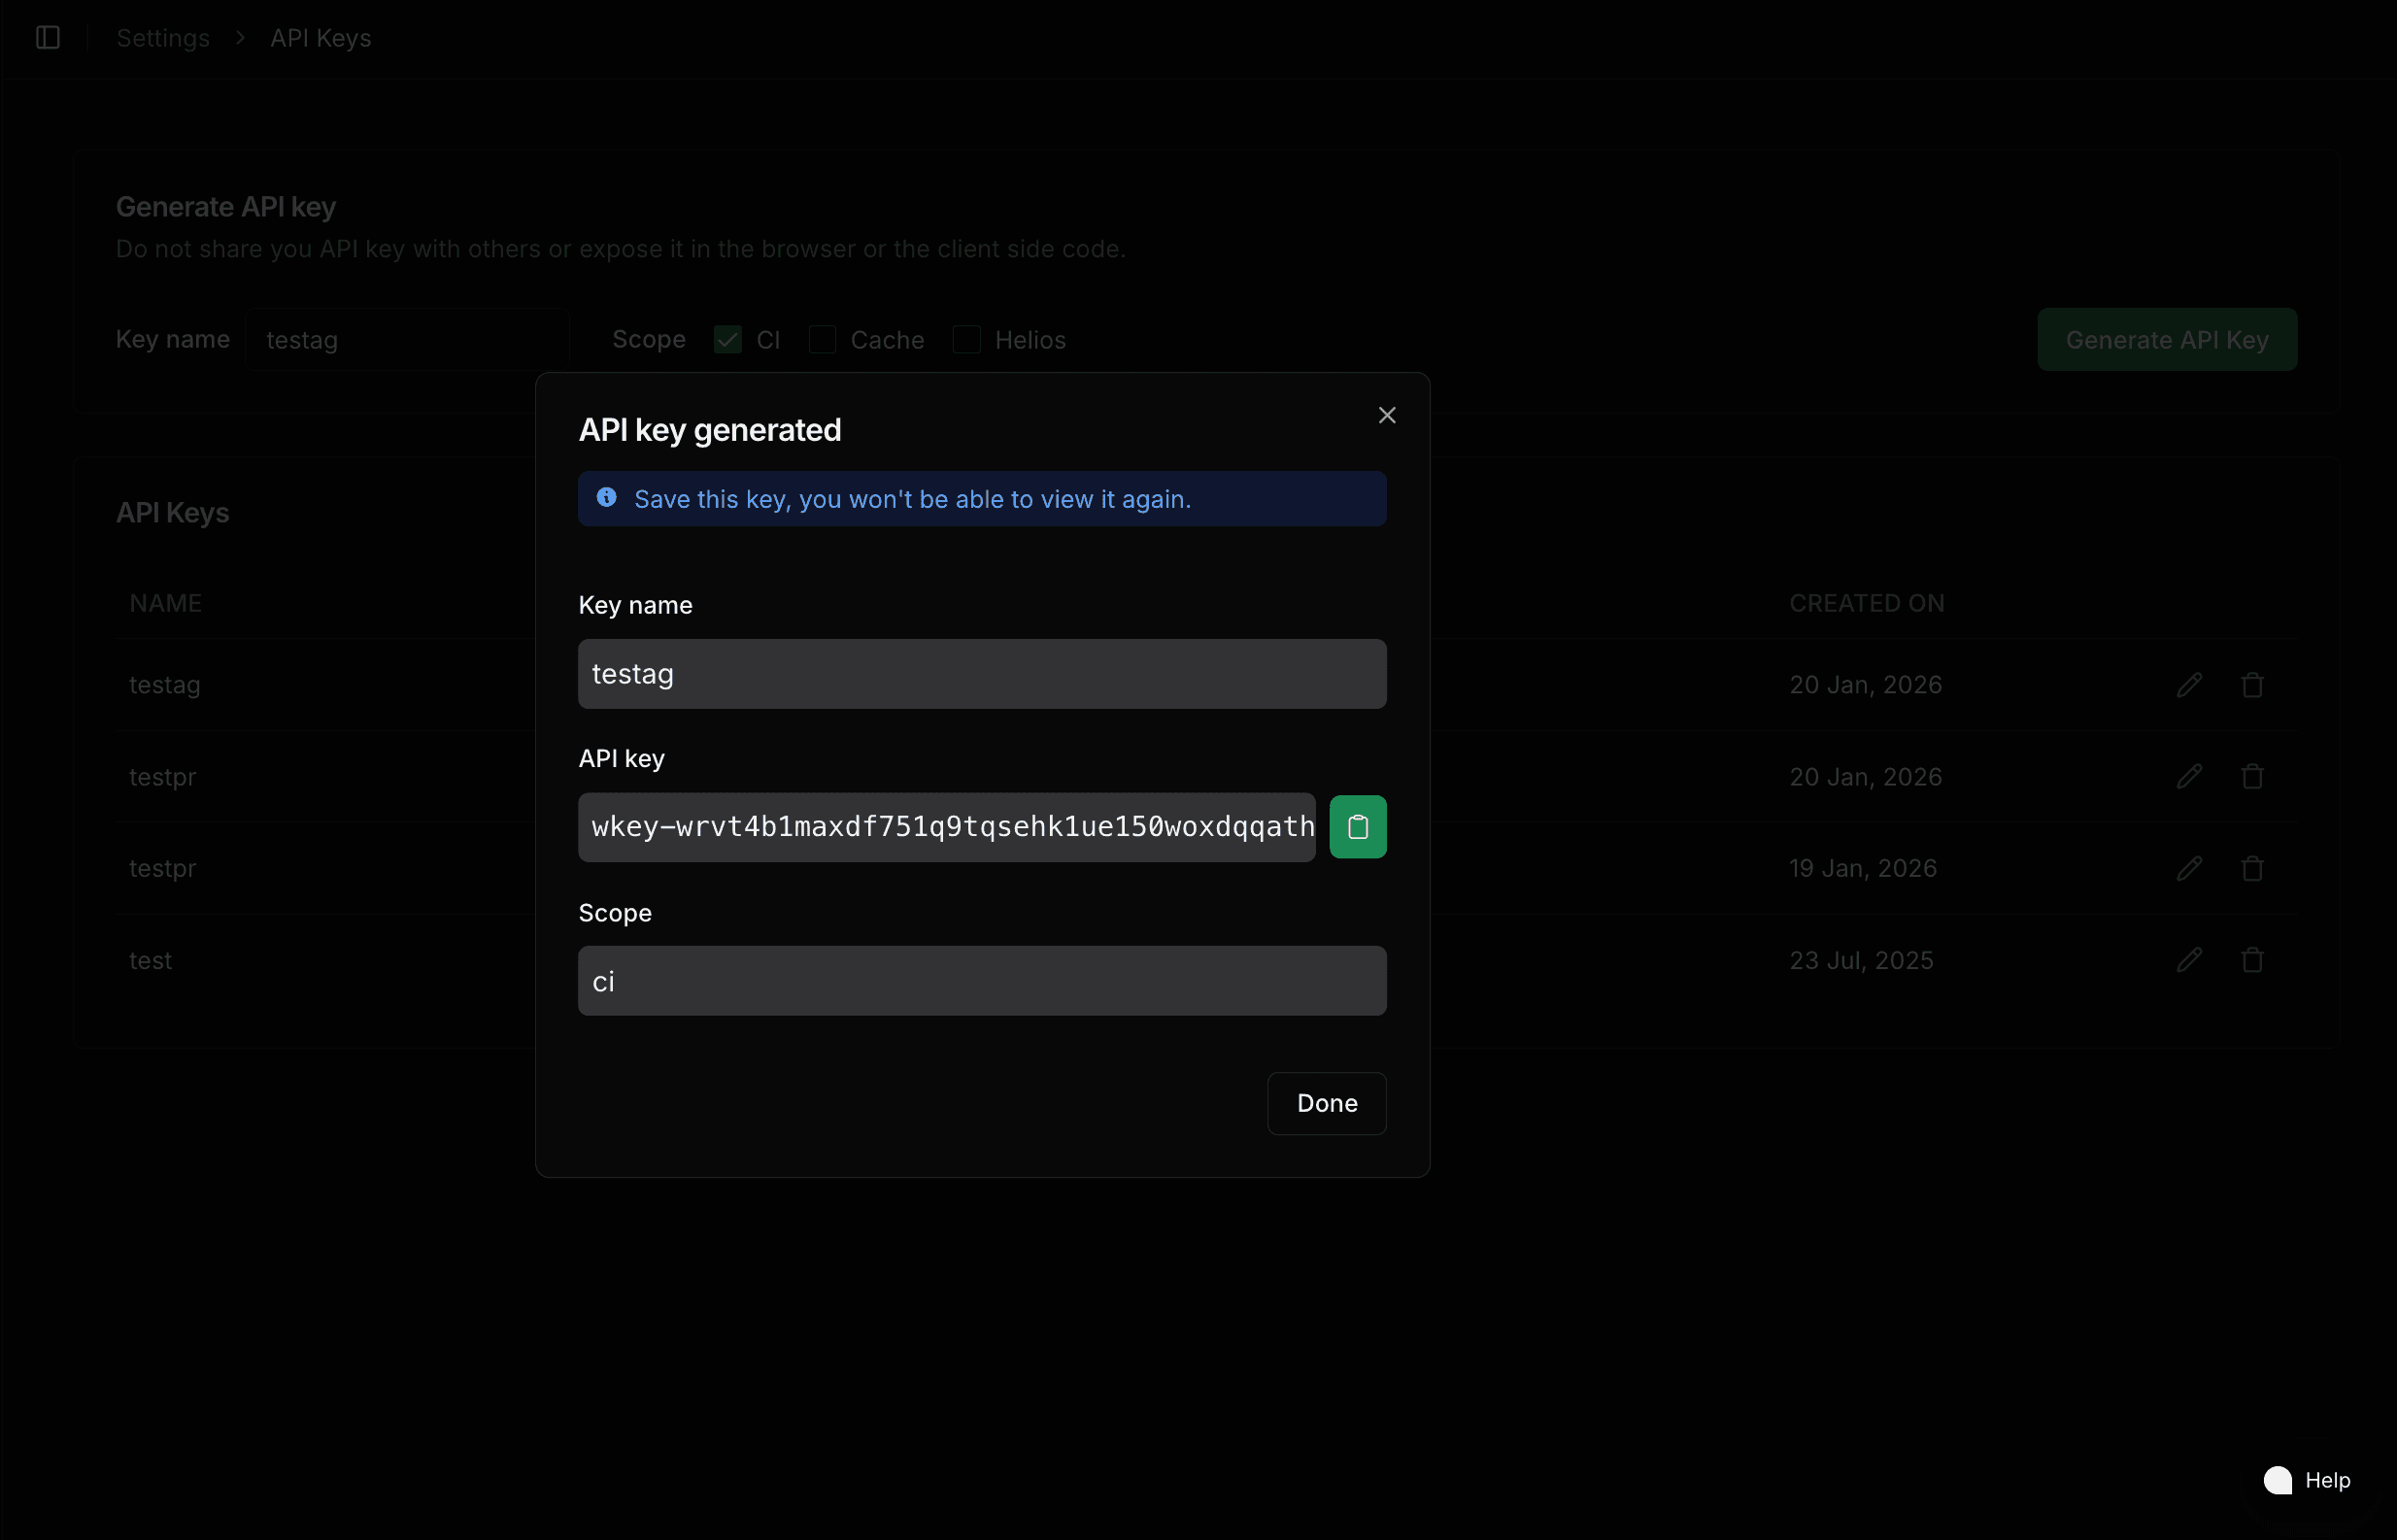
- Set a name for your API Key and check CI.
- Click Generate API Key. This should open a generated key like below. Copy the API key.
Step 2: Configure MCP Server
Use the following MCP server URL and plug in your API key:
MCP Server URL: https://mcp.warpbuild.com/mcp
Configure your MCP client with:
{
  "mcpServers": {
    "warpbuild": {
      "url": "https://mcp.warpbuild.com/mcp",
      "headers": {
        "Authorization": "Bearer <API KEY you copied from step 1>"
      }
    }
  }
}
Example - Using in Cursor
- Navigate to Cursor.
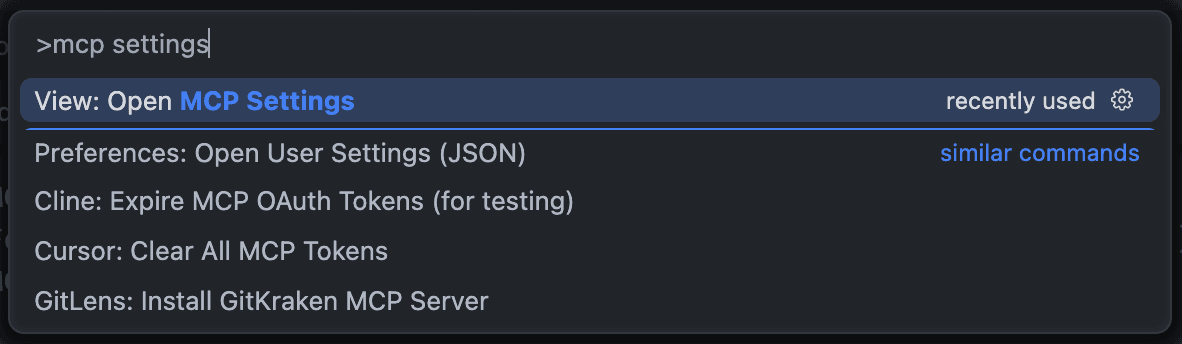
- Open the command palette using
CMD + Shift + P(orCtrl+Shift+Pif you are on windows/linux). Search for 'mcp settings'. Select 'View: Open MCP Settings'
- Click on the 'New MCP Server' at the bottom of the page for the MCP settings.
- This opens a JSON file for the MCP Configuration. Add the following content
to this page. If you have some mcp configuration in this JSON, add only the
warpbuildsection from the below JSON.
{
  "mcpServers": {
    "warpbuild": {
      "url": "https://mcp.warpbuild.com/mcp",
      "headers": {
        "Authorization": "Bearer <API KEY you copied from step 1>"
      }
    }
  }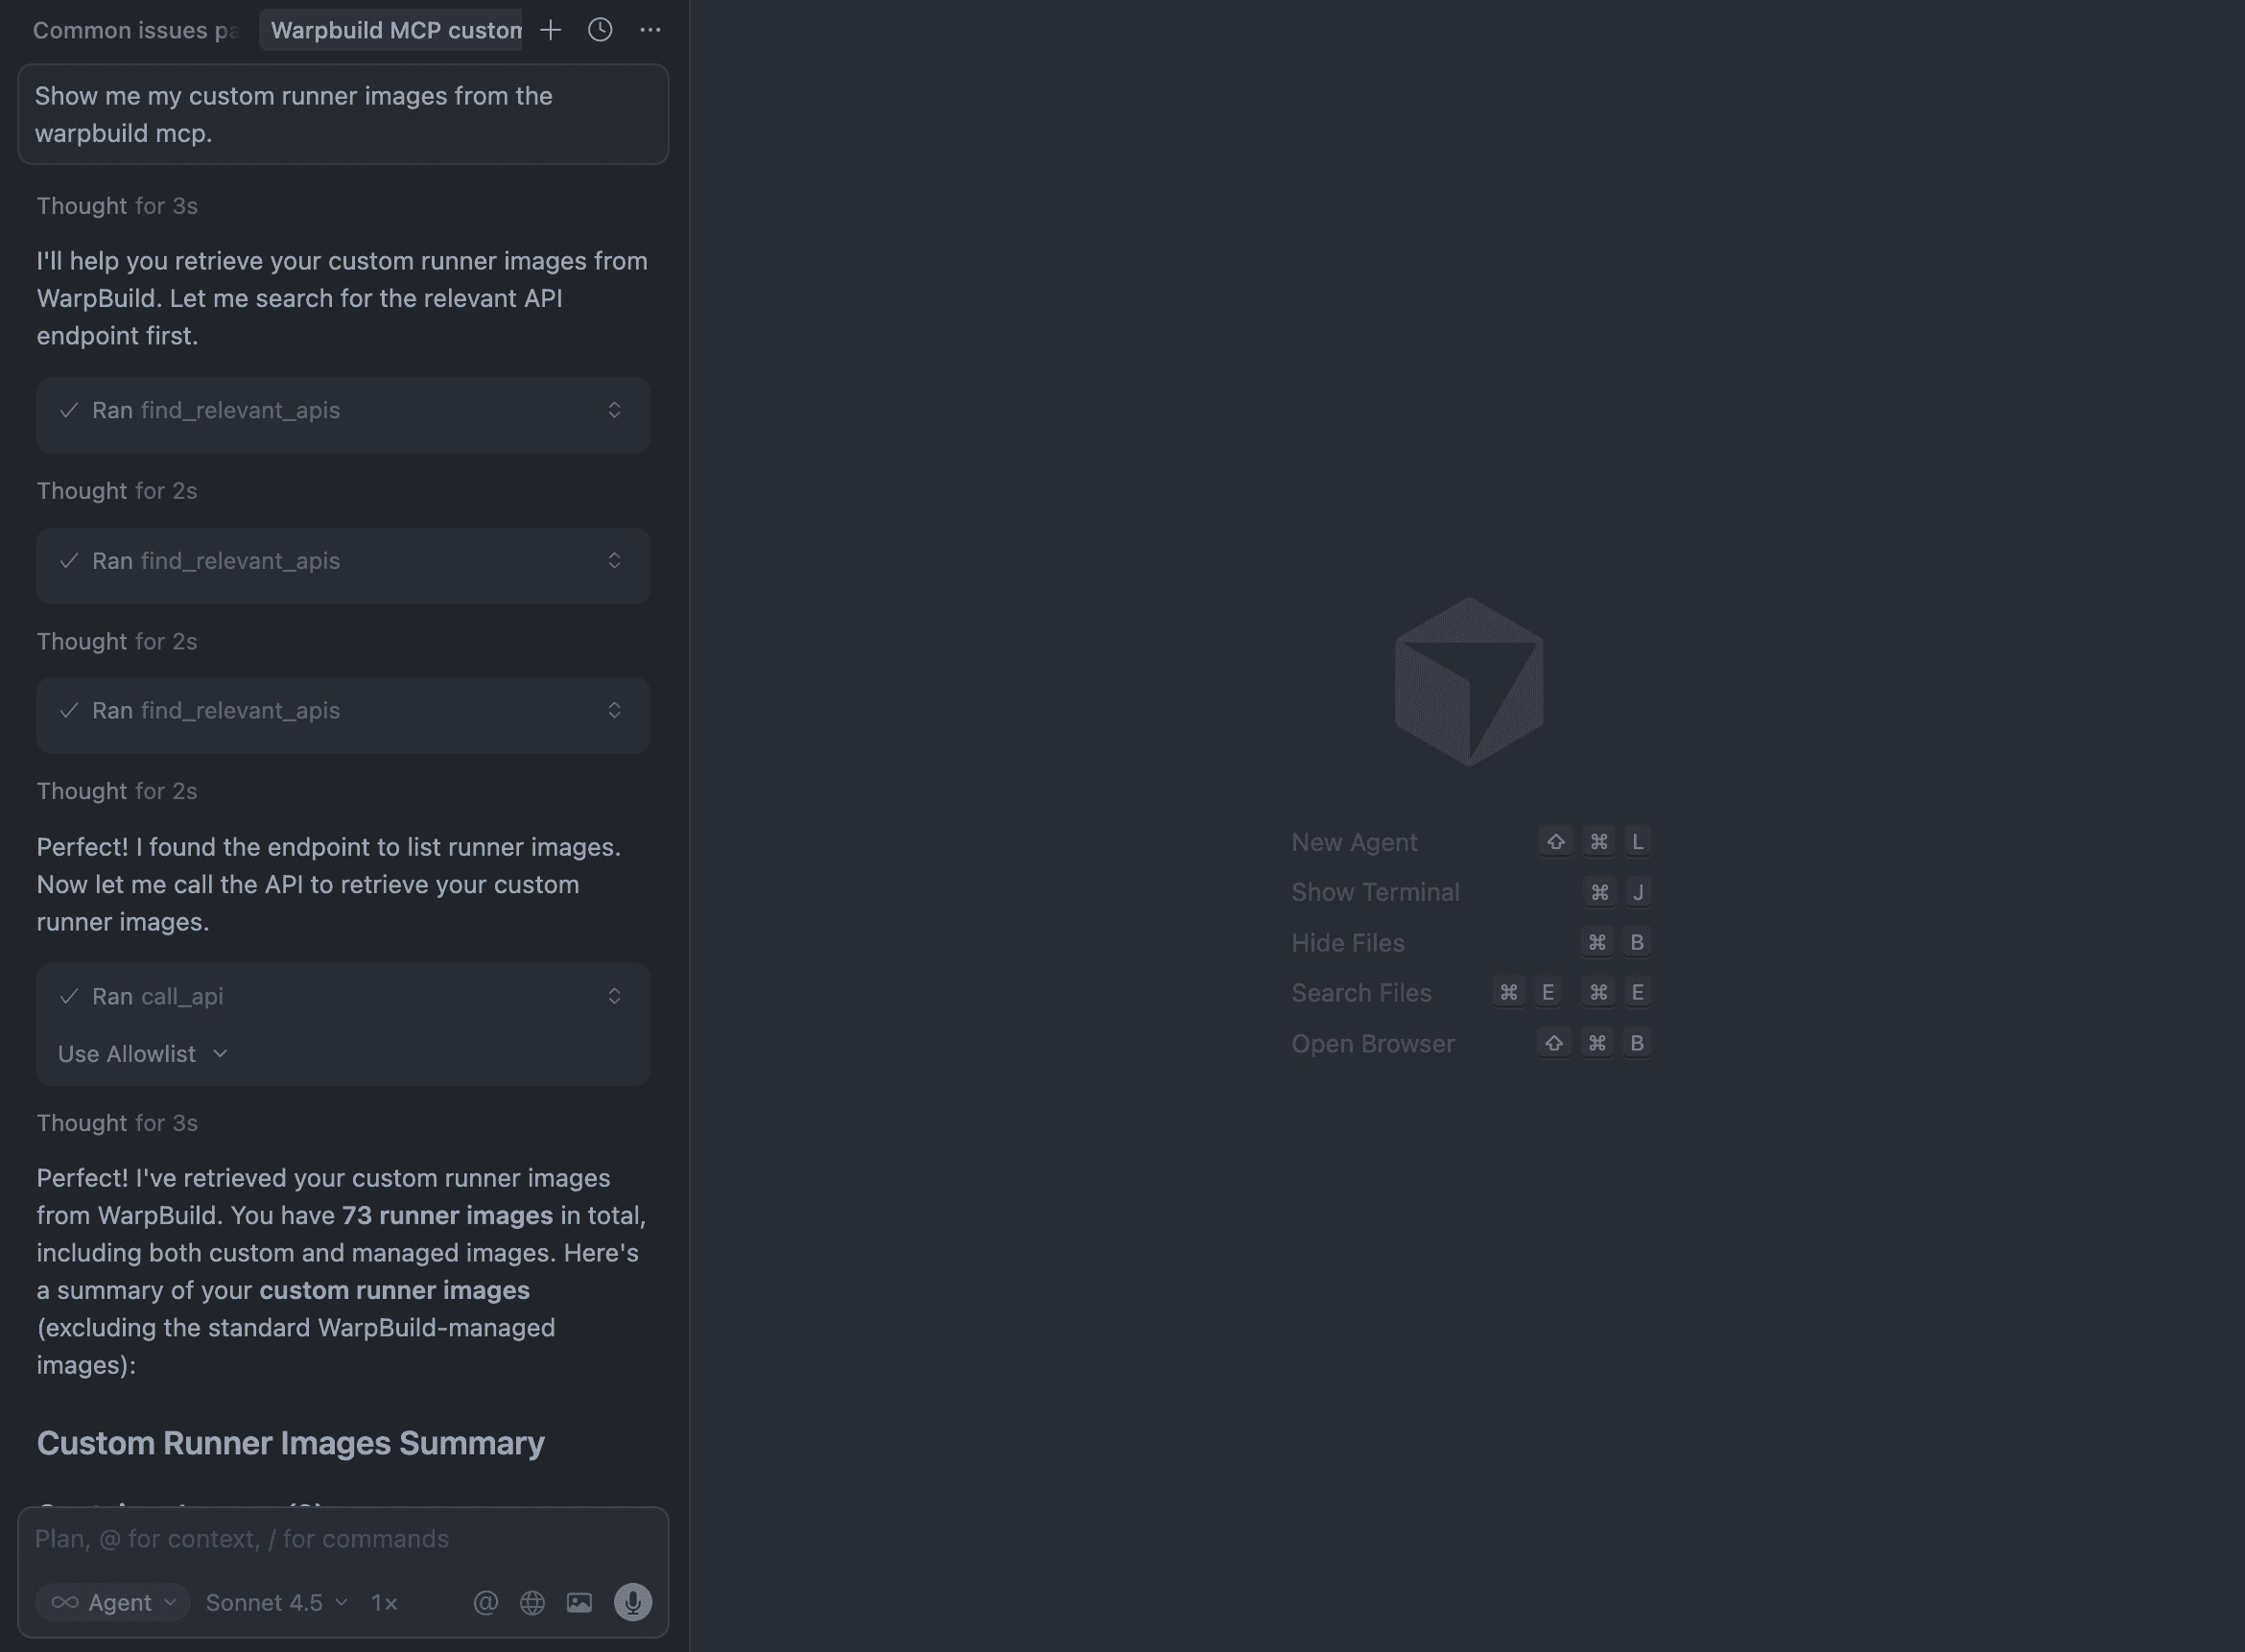
}- Verify that MCP is working. An interaction example is in the below screenshot.
Last updated on